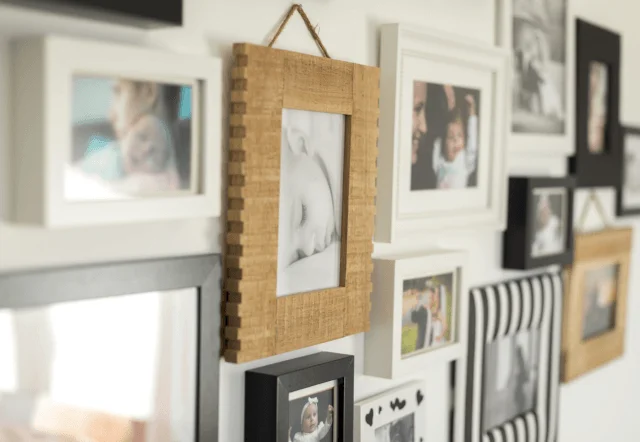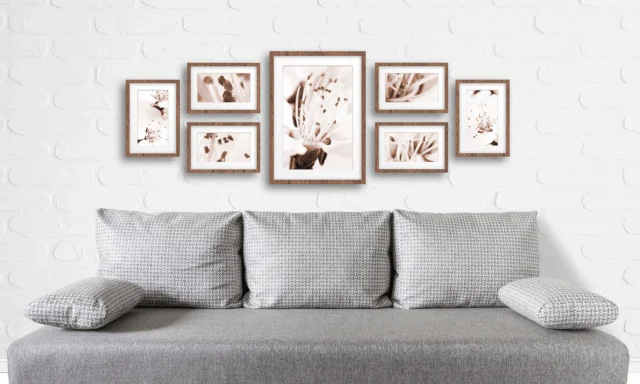
Wood frames allow for some of the most unique and virtually beautiful designs for holding your favorite photos. Although you may not realize it, photo frames are a great way for you to add decoration and character to your home.
Sometimes, these photo frames can be expensive, though, especially when you are looking for something unique or something large. You can make your own, though.
To do so, you have two options. You can purchase a picture frame kit which can be found fairly easily on the web. Or, you can visit your local framing store, become shocked by the price and decide that you need to design your own! To do that, follow these simple instructions.
1. Find your favorite type of wood. You can use pine, oak or any type of wood that you like the grain on. You’ll need enough to cover each side of the photo you are mounting, plus at least an inch more.
2. Stain or paint the wood. This doesn’t have to be difficult and stain can be quite inexpensive. Choose the colors that match your home or the colors that you enjoy.
3. Cut four pieces of wood at 45 degree angles so that they fit together into a square. Each piece will need to 45 degree cuts going outwards. Fit together with staples or small finishing nails.
4. You will need to purchase a thin piece of glass or use a clear piece of plastic for the outward of the frame. Then, add a professional style (but inexpensive) mat board to help frame the photo. Your photo goes in finally and then a piece of cardboard on the end. Use nails to help keep the backing in.
Designing your own wood frames is easy and it’s an affordable way to decorate your home and truly have a unique look.

I’m thrilled to be your companion on this exciting journey through the world of home decor and design. With a passion for turning houses into homes and a keen eye for the finer details, I’m here to help you transform your living spaces into beautiful, functional, and meaningful havens.


